Ads 468x60px

Showing posts with label Stripes. Show all posts

Monday, 31 December 2012

New Year Nails!

Well, I hope you all had an amazing year! I personally don't care much for New Year - I stay up to watch the countdown on TV and then go to bed, haha. I did decide, however, to do some kind of nail polish with the inspiration of fireworks and lasers in the night...
Before I get into that, I hope you like the new design to the blog... it took me absolutely ages because certain things just wouldn't co-operate to begin with, and after about 3 hours, html becomes extremely irritating.
 Anyway! To the nails! I have 2 designs today, fairly similar really. The main reason is that the first one chipped within 24hrs of doing it, so I had to do something else. This is the first one! I used Barry M Navy and then used some Barry M Jewel Glitter Amethyst at the tips, blending it a bit with the brush so that it was kind of a gradient.
My Seche Vite topcoat didn't hold it though, which was a first. For me, anything that is sparkly on dark polish looks like sparklers or fireworks so BOOM! Glitter on dark blue it is!
 As I said though, the polish chipped fairly quickly so I decided to use some of my new tapes (which I learned- the hard way - loses it's colour if you apply it onto damp nail polish so must applied to completely dry polish). I have such tape on the index and ring finger. The thumb and ring finger have OPI Casino Royale as the base, and the others have the above mentioned Barry M Navy.


 The thumb has the same glitter (Barry M Jewel Glitter Amethyst) as above, covering the nail completely and only the tip of the pinky nail.
The middle finger has Models Own Mirrorball Freak Out! - I found that it matched really well with the tapes I was using.


I took quite a few pics, too many really! I found it difficult to choose because some are better for different reasons.

Anyway, this is lasting a lot longer, I've had it on for about 3 days now!


I hope you have a marvelous new year!

Wednesday, 19 September 2012

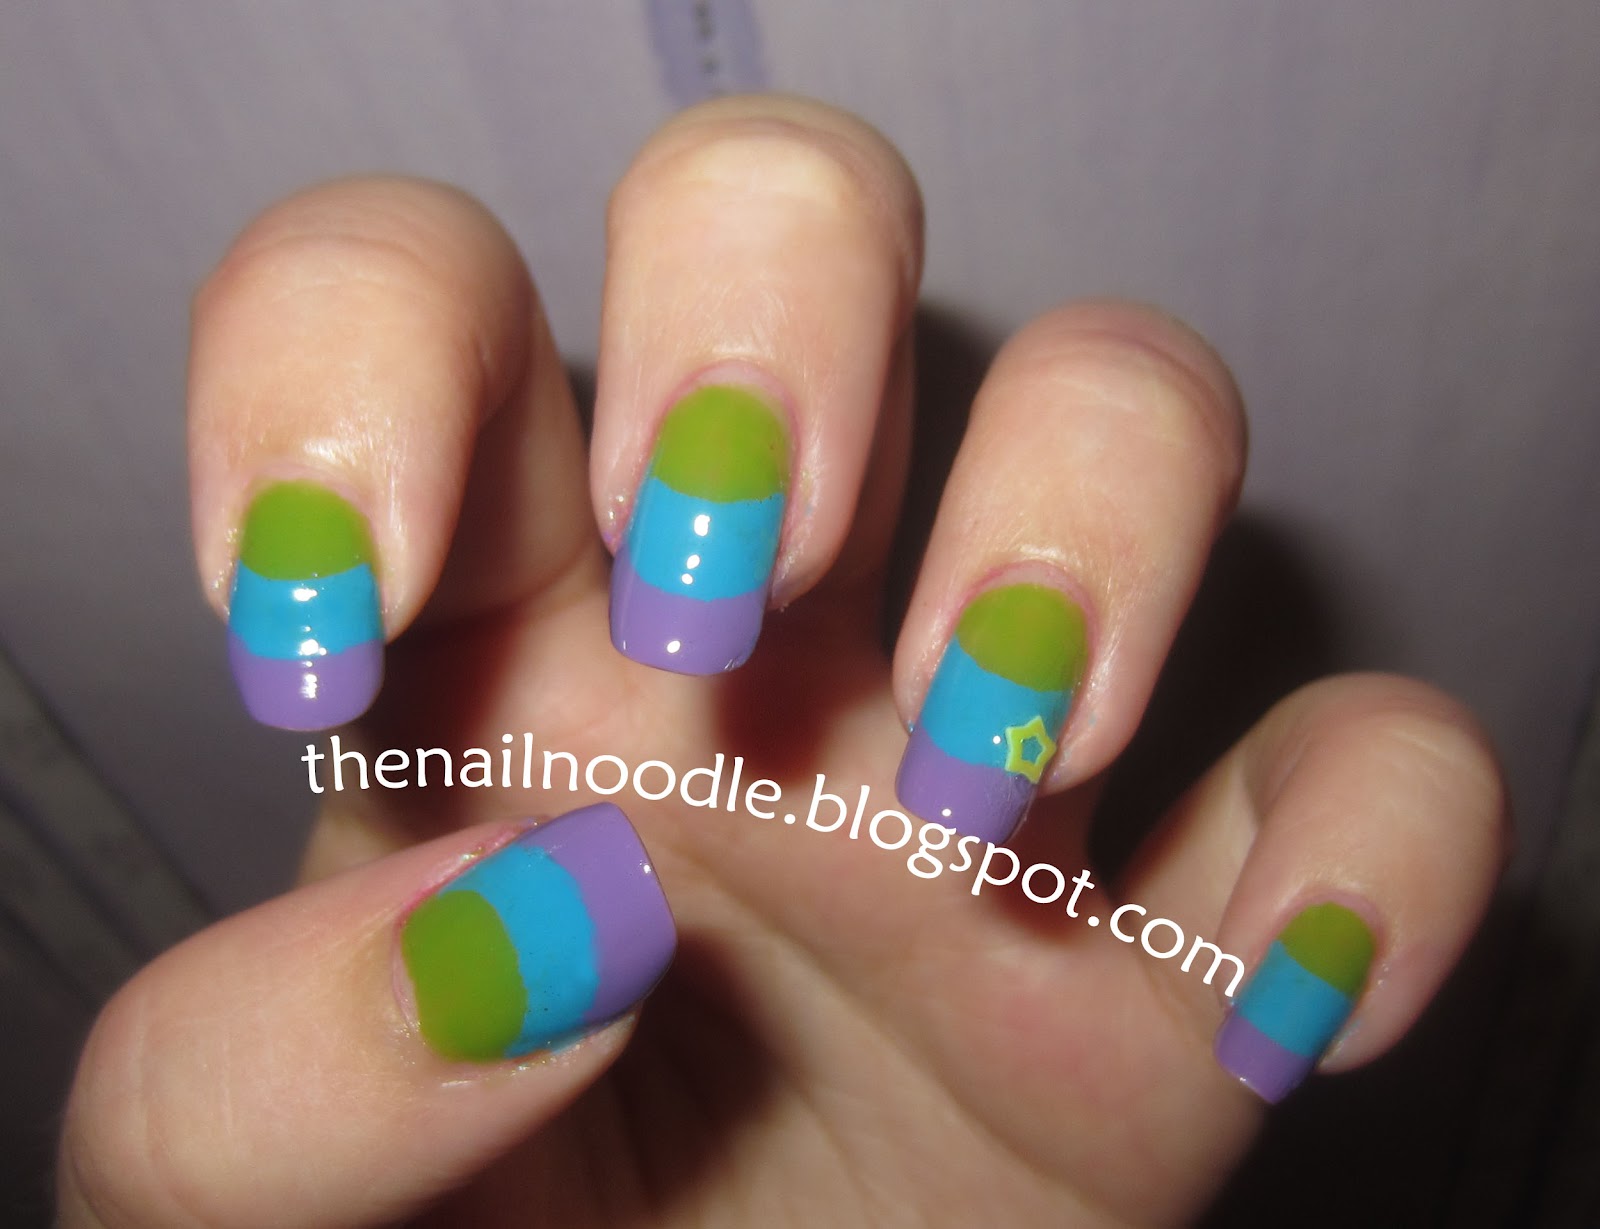
Curved Striped Nails

Having done the half moon mani, I decided to go one further and use two ring reinforcement stickers as opposed to one. It takes a bit longer and I was kind of impatient to begin with! This is the first time I've used the Seche Vite topcoat -- I loved it! Dried relatively quickly and smoothed out all the bumps I had from the nail polish and stickers (and there were a lot!)

The first colour I used was Avon Nailwear Pro Electric Green, then I used a blue called No7 Stay Perfect Stand Back, followed by GOSH Wild Lilac at the tips. I added a little star on the ring finger and I just love how the topcoat really holds it on!

Thursday, 16 August 2012

Tropical Sunset Nails

This is some nail art I done about a month ago. It's not exactly one of my best, in fact it's pretty bad, haha! For some reason I took a picture of my right hand instead of my left, probably because the left was worse. Usually, though my left hand looks neater as I am right handed but anyway, that's useless information!

So, to do this, I started off with a clear base coat as I always do and then used a fine sponge (basically a make-up sponge as these work the best) to apply the different shades of nail polish in order to make the rainbow gradient effect underneath. Then, I did a technique called water marbling, using clear and black nail polish. The stripes were then drawn on with a nail varnish pen (and I attempted a palm tree with a black nail varnish pen), followed by another clear coat on all nails. Sounds like a lot of work, but it was rather fun! Like I said, not my best as the lines are pretty bad but I hope to try something like this again soon. Youtube show these kinds of techniques pretty well, but I will hopefully make a picture tutorial on here at some point too!